Monthly Archives: June 2012

Semi-abstract Summer

semiAbstractSml


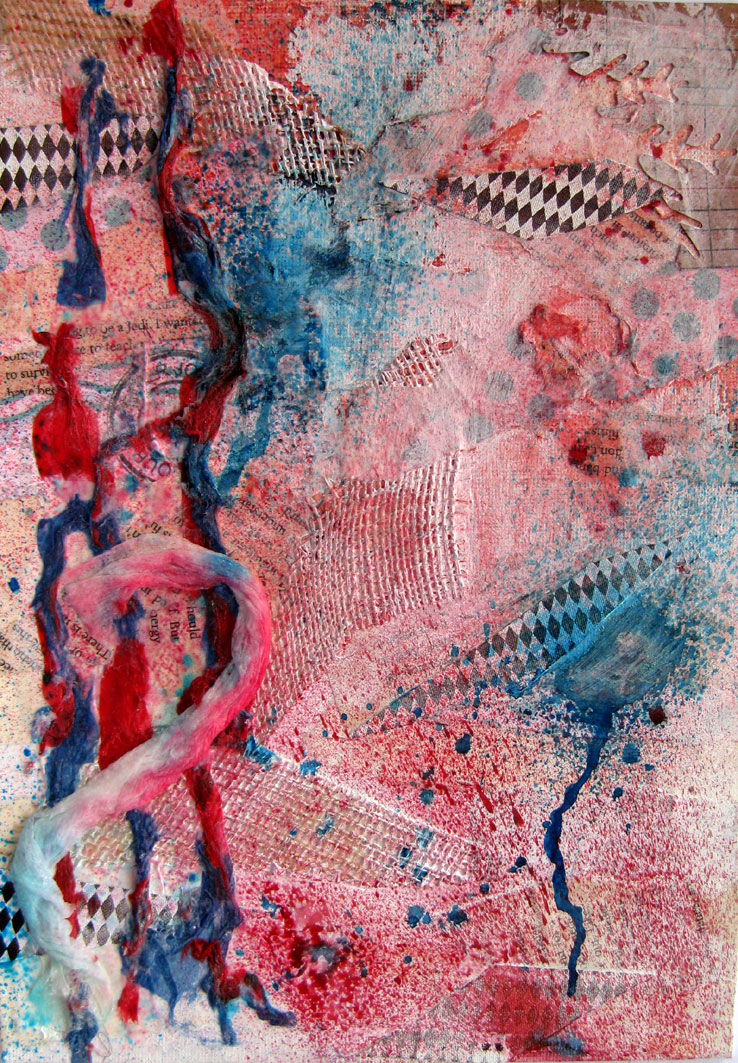
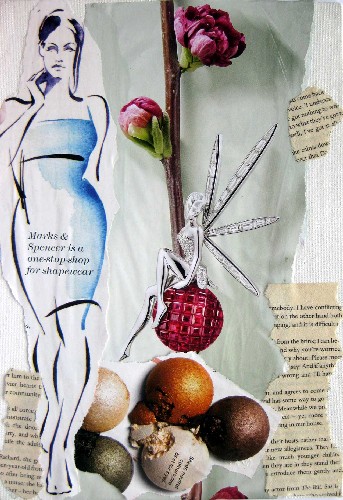
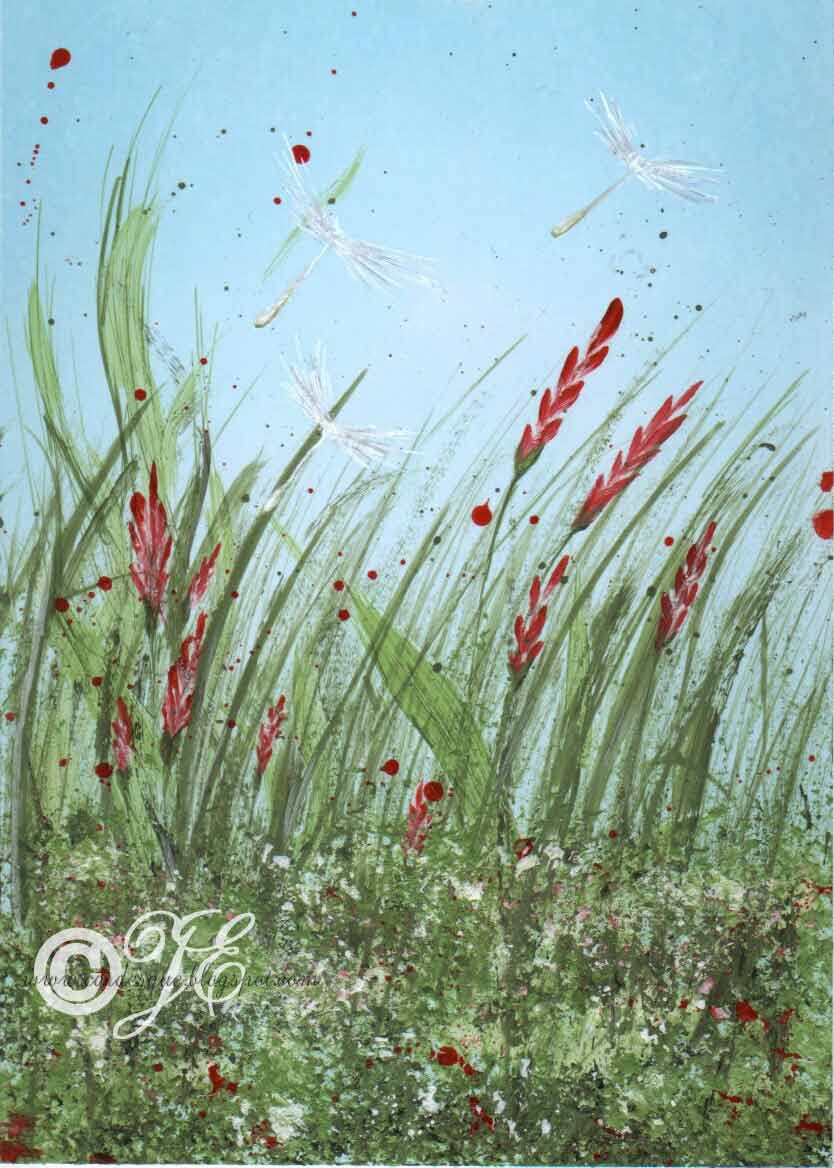
So my mum issued me with a challenge the other day: make a semi-abstract using 3 colours of inks or paints with no zentangle, no stamps and the theme is summer.
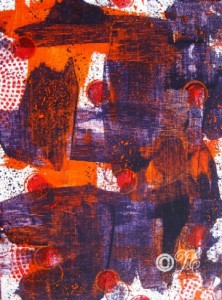
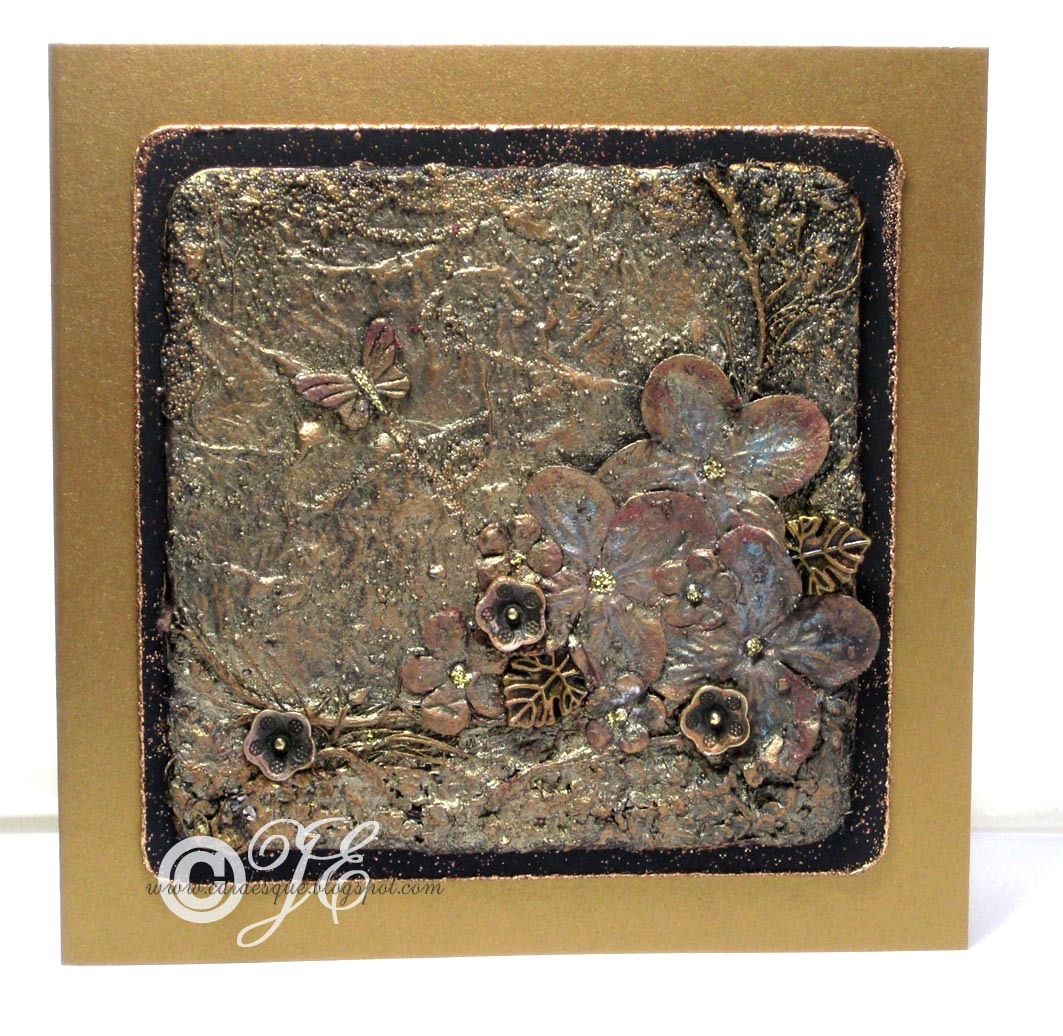
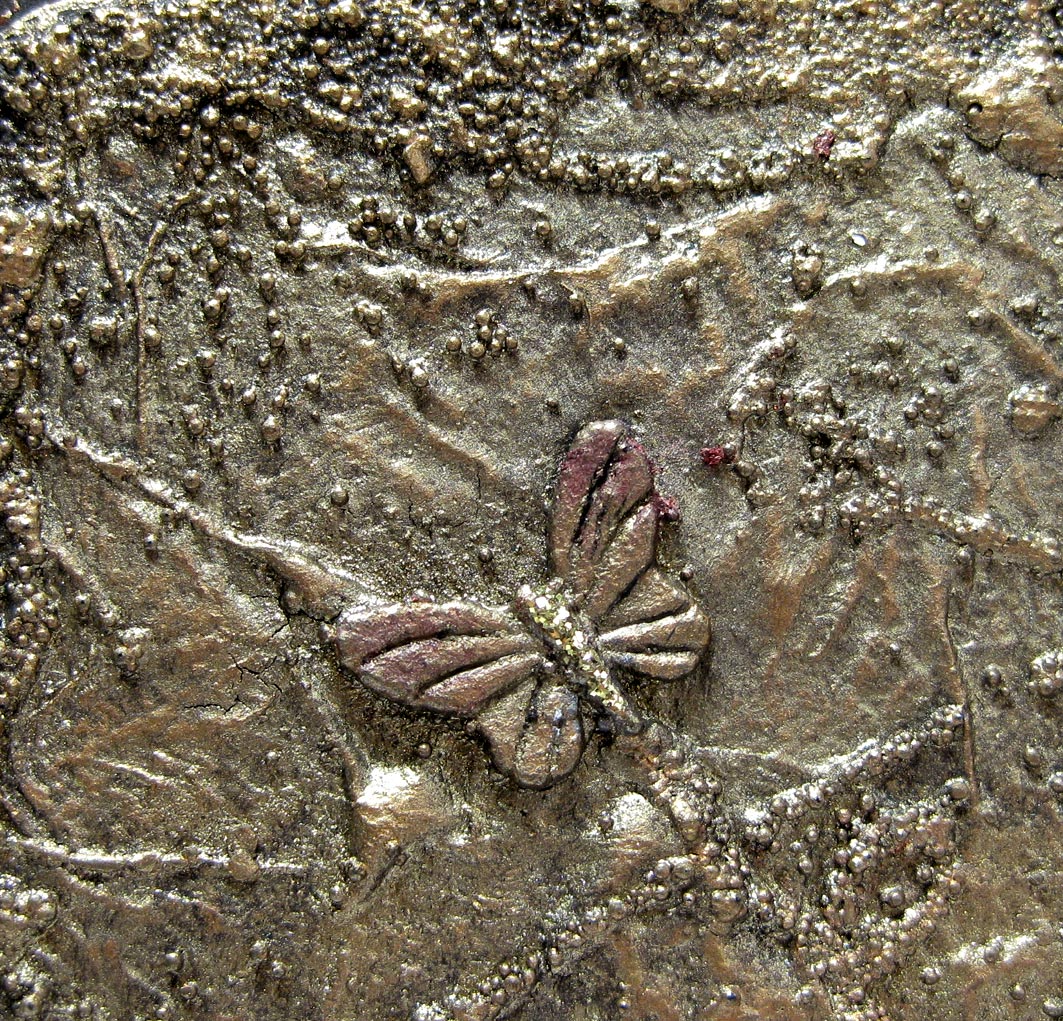
This is what I cam up with.  Summer to me is sitting in the garden watching the bugs and seeds and all the other wee dust particles floating about in the breeze.  Did I cheat adding white?  My 3 colours are blue, green and red (using white for highlights and the dandelions seeds).

Inks:  Distress ink Tumbled glass
Paint:  Acrylic paint Moss and Poppy, Antique white
Card:  silk card
Other:  Marvy le Plume pens in green and red, glitter pen (tiny amount in the fluffy part of the seed heads)

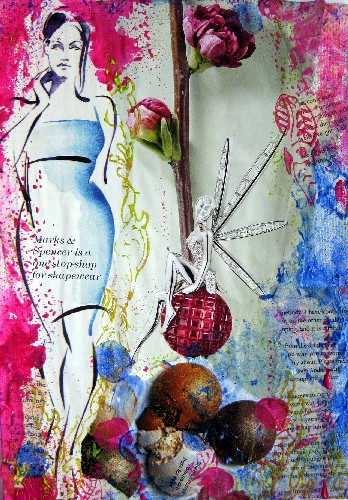
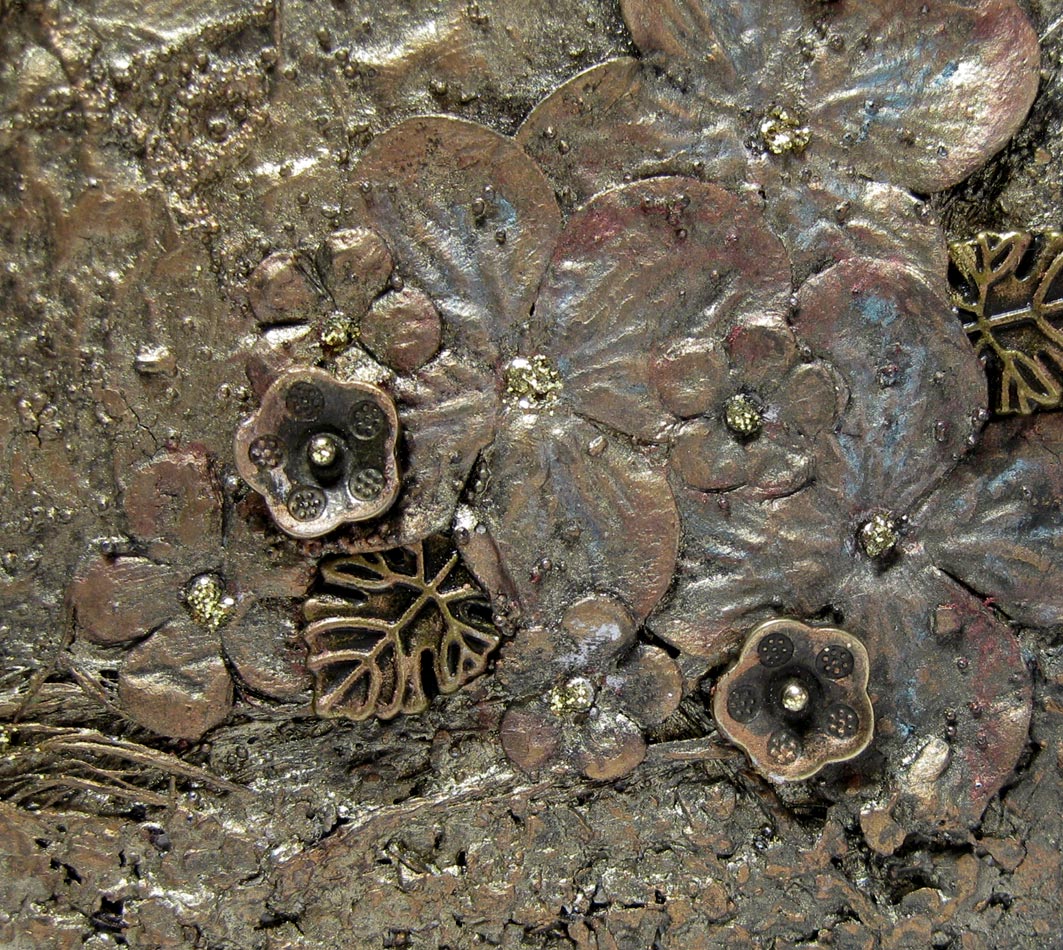
I brayered the background all over using the Tumbled glass ink (which in real life looks almost aqua) leaving a central glow.  I loosely painted in grassy leaves and thicker leaves, the stippled over the base to look a bit like moss in the grass using the acrylic paints.  Added some flowers then splattered some red and green.  Lastly I added the fluffy seed heads adding a little glitter pen to the fluffy bits.

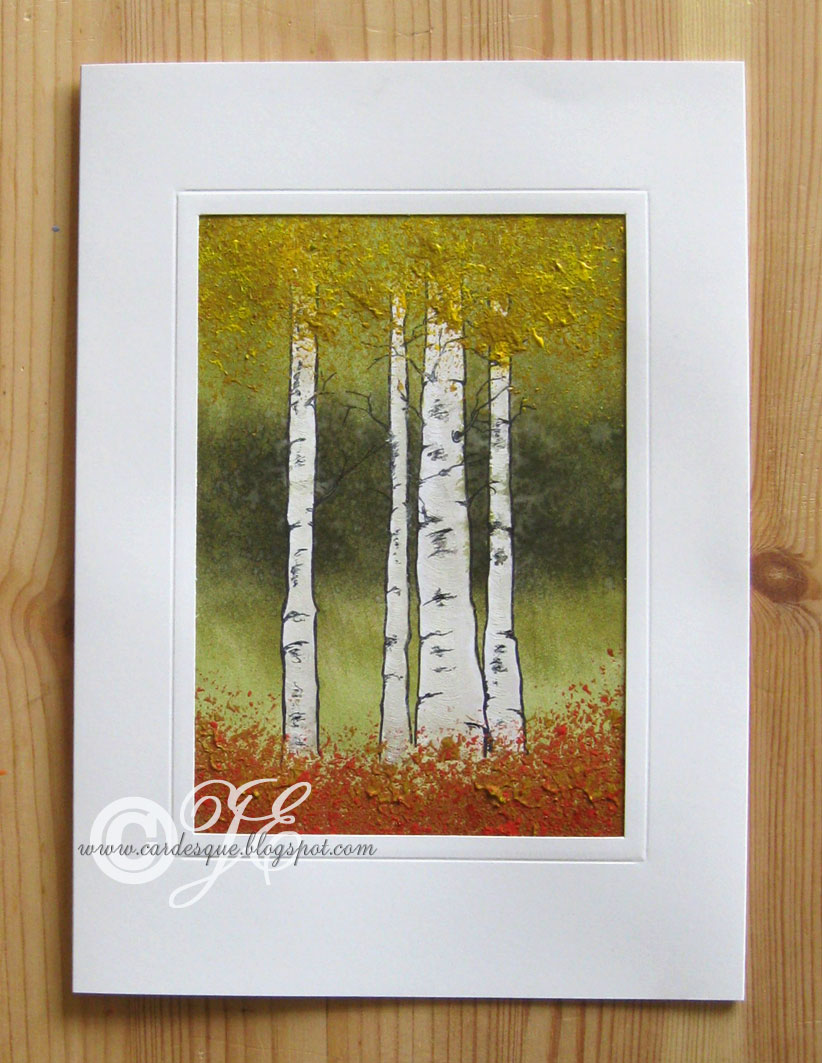
It is just the right size to put into an A5 aperture card but is it semi-abstract? not sure.


Birch trees card


birchTreesSml

I came across this tutorial by Amy Pearce by accident and decided I really wanted to give it a go but in a smaller version for a card.  Instead of painting in the trees I thought it might work if I stamped the trees then masked them out before painting in the background.  My first attempt was very bad: I had used a stamp for the trees then masked it out with masking fluid on plain white card and not only did I have to spend 3/4 of an hour de-bunging my masking fluid as it had solidified all the way inside the nozzle before I could even start, but after I had finished the painting and it was time to remove the masking fluid it had stuck to my card too much so it ripped half the surface away too.  Argh!!!
For my next attempt I thought I would do an inky background and add the acrylic paint over the top for more texture.  That kind-of worked.  I stamped the trees, this time cut out a paper mask and used sponges with Distress ink through the mask to make the background. Took the mask off and I then stippled on the acrylic paint but the trees looked too plain and white so I used a water brush with some Pumice Distress ink to go over the trees the used a dry flat brush with Diamond glaze to give a little bit of shine and texture.  Finally I sprayed the picture with a fine water mist just to soften the background a little. Now I know that she called her trees Aspen but I will call mine Birch as the stamp I used is called Birch trees.  I managed to get a rather stripy effect but I would really like to give it a go for real next time and paint in the trees for a proper painting.

Inks:  Black document ink, Distress inks Black soot, Bundled sage, Forest moss and Pumice stone
Card:  white card
Stamp:  Birch trees Clarity stamp
Other: Acrylic paints Cadmium yellow medium, Yellow ochre, and Vermilion, Diamond glaze, old pond pump sponge, black multi liner pen to touch up a few black lines

Fish zentangle card

fishZentangleSml

Here is a zentangle thank you card I made for Neill (Sole Seafood Restaurant) and Eve for doing a Seafood Master-class in our house.  It is a long story which I won’t go into too much detail but the long and the short of it is: a very good friend of ours (Graham) bid on this Master-class in the Big Bam Boogie – Charity Fundraiser for MacMillan Cancer Care and he very kindly shared it with us. Not only did we learn some cool techniques but we had a fabulous meal with great company and they even cleaned up afterwards so my kitchen was left spotless.
Thank you Neill, Eve, Graham and Gen.
Pity I didn’t take any photos of the food.

Inks: Black Pitt pen, Marvy Le Plume watercolour pens, Inktense pencils
Card: white card
Other:  white gel pen, glitter pen, aqua lagoon cosmic shimmer mist spray, salt

Pass the painting – June

paulineJunelayer2Sml

JuneLayer3Tiny


This is the next painting that is being passed around – a little earlier than it should just because we had them ready.  Elaine did the first layer with paper scraps, Pauline added scrunched glued napkins and scraps of gauze.  I added a spray of aqua and red which you see in the first photo (as I forgot to take a photo before I started) then I added more sprays through stencils and mesh then splattered with white acrylic paint.

Sprays:  Dylusions ink Cyan and Postbox red, Brusho Crimson, Cosnic shimmer mist and Lava.  (sprayed water through stencil then lifted the colour out for a ghost effect).
Acrylic paint:  watered down Titanium white sprayed with toothbrush.
Other:  Uni paint marker to splatter, alphabet and number, circle stencils, mesh.

Pass the painting- Pauline’s 1st layer

PaulinesMay1stLayerTiny

PaulinesMayLayer2Tiny

Pauline did the first layer then I did the second layer.

The pass the painting project is going ok.  I passed my painting with the 1st layer on to Rosie, and Pauline has passed her 1st layer to me.  For the 2nd layer I used acrylic paint.  I picked out 3 colours from the 1st layer and and splotched, stamped and daubed it onto the background.
Acrylic colours:  lime, cerise and blue (with a tiny bit of gel medium in places to make it a little less opaque so you can still see some of the text through it).

Pass the Painting – 1st layer

passThePaintingLayer1tinyl

A little band of 5 (Go 4 it Girls) have got together to do a variety of projects and the first one is called Pass the Painting.  The object of this project is for each of us to a first layer of a painting (or art journal) then pass it onto the next person who then does the next layer and so on.  We will each have a final original piece of art.  I think this is going to be a lot of fun and I can’t wait to see all the final art work.

Card:  18/24cm canvas board (gerstaeker) which is already primed with acrylic.
Paint:  acrylic paint: Violet, Orange yellow and Cadmium red hue and left a bit of the white backgound showing through.
Other:  credit card to spread the paint, daubers, and lids for the circles, mesh as a stencil

Faux bronze beermat cards

bronzeFourTreesAfter.Sml

bronzeMushroomsSml

bronzeFlowersSml

bronzeFlwrsCloseSml

bronzeBflySml

I had so much messy fun doing these cards!  I was searching online for some ideas for decorating beermats for my brother’s birthday card and I came across Laura Kimber’s blog with Faux bronze wall plaques.  Thank you for sharing your creations Laura.  I just had to have a go at this technique and although I managed some of it ok I thought that the paper flowers I used were just too flimsy so maybe thicker ones would give more definition.  I added a tiny amount of colour to the flowers and butterfly with rub-on wax just to make them stand out a little more.


fourTreesB4Sml

flowersB4Sml

First of all I glued a plain napkin to a beermat and made sure there were a few wrinkles in it to give texture.  Then I glued on the other materials (string, fluffy fibre, micro beads, oyster shell grit, paper flowers, butterfly and gems) – that was the messy bit.  After it all dried I painted over the entire surface with black acrylic paint and when that was dry I went over it with gold acrylic paint trying to get most of it on the raised areas.  That was pretty tricky to keep some of the black showing in order to make the texture really stand out.  I went over it again with gold but this time some Perfect pearls to make it glisten a little.  To add more definition a rubbed on some wax and added some little bronze charms and a tiny amount of gold stickles.  The trees beermat is matted onto black card then onto pale gold card and is embellished with tiny bronze coloured brads.  The flowers beermat is matted onto black card with a mixture of copper and brass embossing powder on it then onto dark gold card.   So Chris and Lizzie, I hope you like your birthday cards.

Spring art journal page

bloomInSpringSml

I took a few snaps in spring of some oranges, yellows, purples and different shades of green to spark some inspiration for a journal page and this is what I came up with.  I have a feeling that I might add more to it later.

I used acrylic paint, Tulip slick 3D paint, gel pastels, Sharpie poster paint pens, highlighter pen, black pen, a few stencils and some doodling in my Strathmore journal.