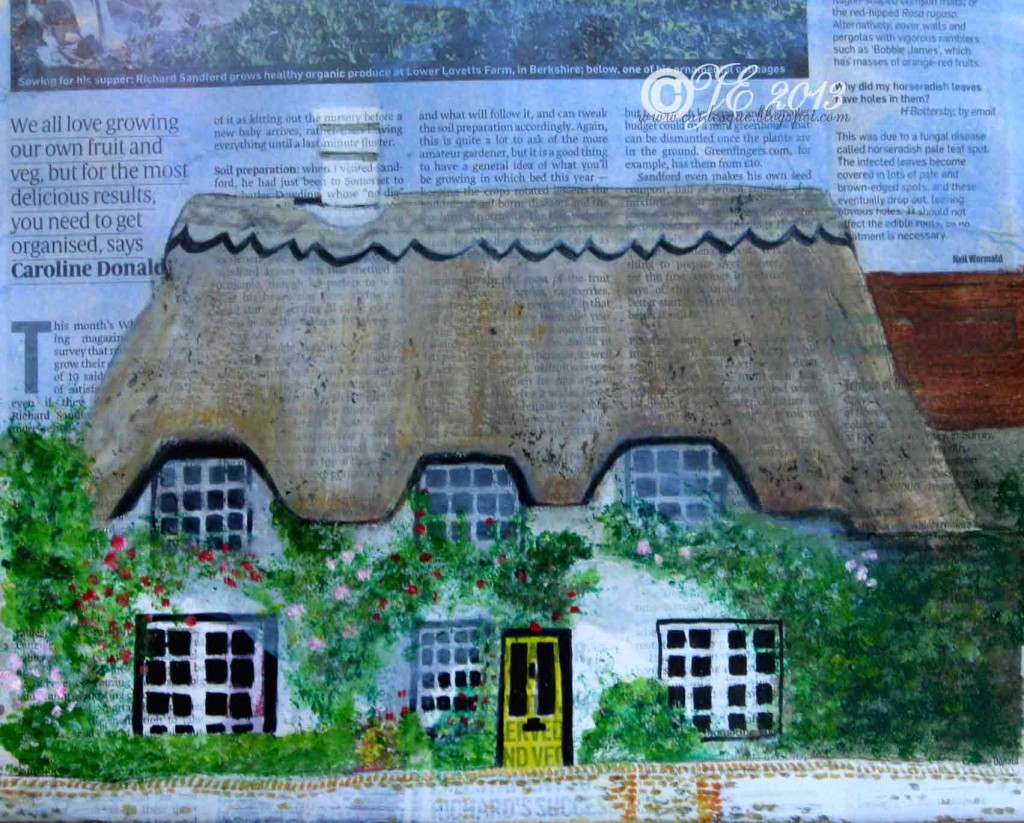
This was a fun exercise I did last November. You tear a piece of newspaper and glue it to your board or in my case watercolour pad. Then do your watercolour (or any other medium) to paint or draw your image. You can choose how much newsprint to show through. I found the whole process quite fun as I didn’t feel that it mattered if I made mistakes. I was using water colour and I just slapped the paint on a went with it quite carelessly. It didn’t matter if the lines were not straight or if I couldn’t get the shade on the house right. (the inspiration is from an image found on the web while doing a search for ‘thatched cottage’ or ‘English cottage’ or something like that but I have forgotten where.)
Monthly Archives: January 2013
Straw bales watercolour
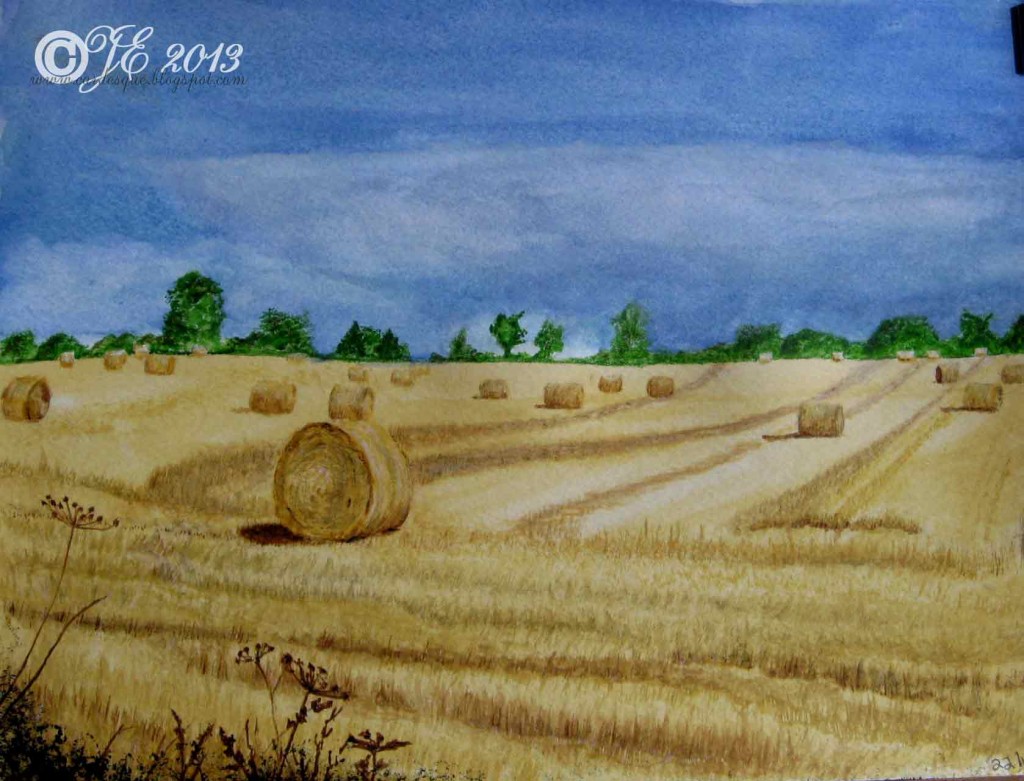
Today I have decided to rake out some of the projects I started last year but never quite had the time or inclination to finish them. This is a watercolour painting that I started last November. The inspiration for this painting is from a photo that Harry took one beautiful sunny day – not that you could tell that from my painting as my sky looks more like a storm is approaching! Not to worry it is all good practice. I also learned while painting this not to hold one paint brush in your teeth while painting with another brush because you forget it is there. You then move or turn and all of a sudden you have inadvertently painted a line across your painting. Hey ho!
Slide mounts
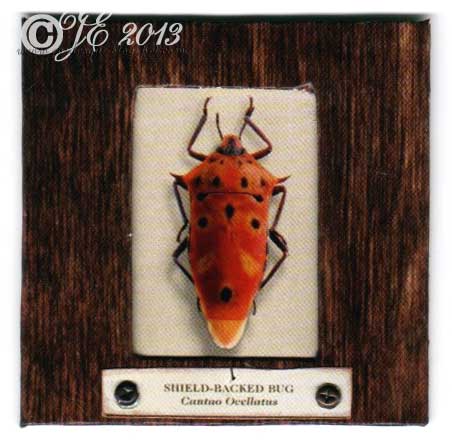
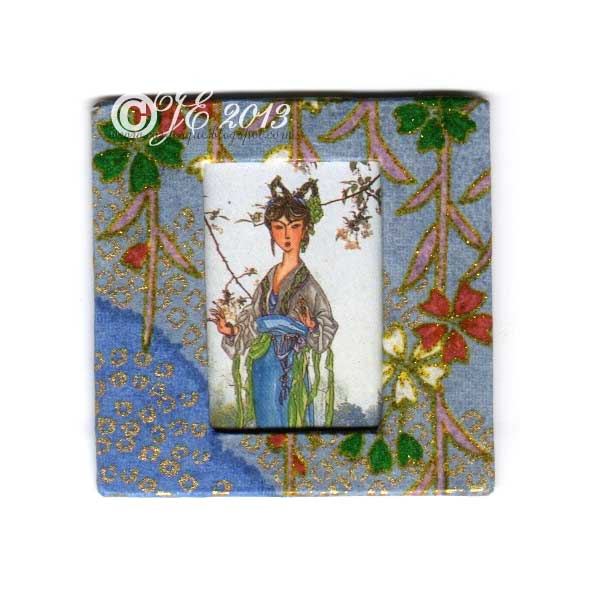
I haven’t done much in the way of crafting for a while and Heather reminded me that I said I would alter a few slide mounts for a ‘show and tell’ at our crop. So here are the ones I did this week.
(oops the pictures are not all the same size)
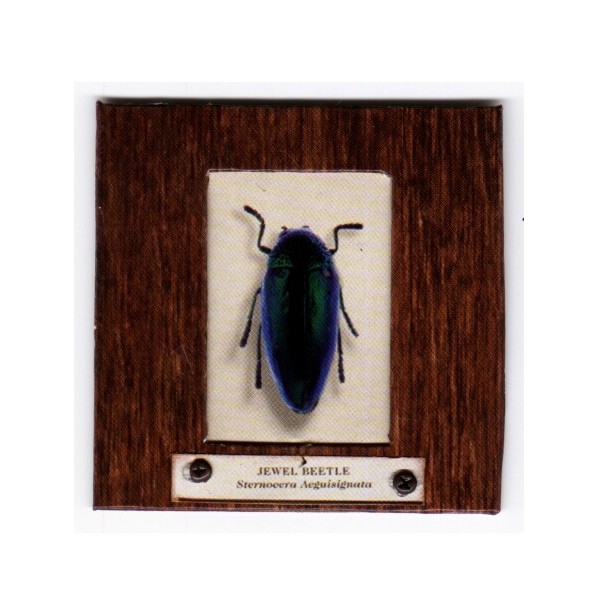 For the two bugs slide mounts I cut out the pictures from an advertising leaflet about Jeeps! I have no idea where I got it from but these images fitted the aperture perfectly. I added a bit of Diamond glaze to the bugs to make their chitinous exoskeleton shiny.
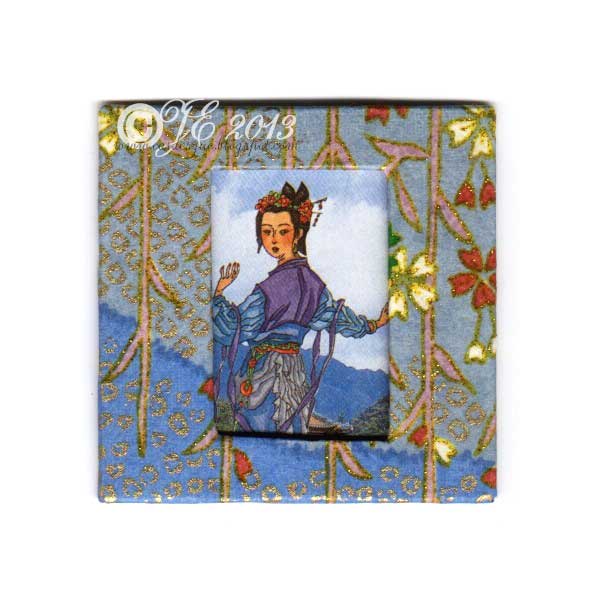
For these two slide mounts I use Chiyogami paper and cut out images form Oriental playing cards.
For the one below I used an image from a different set of playing cards and covered the mount with gold leaf.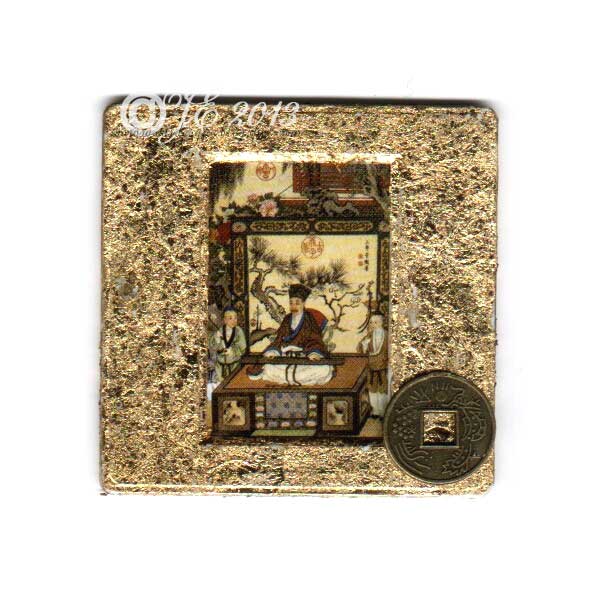
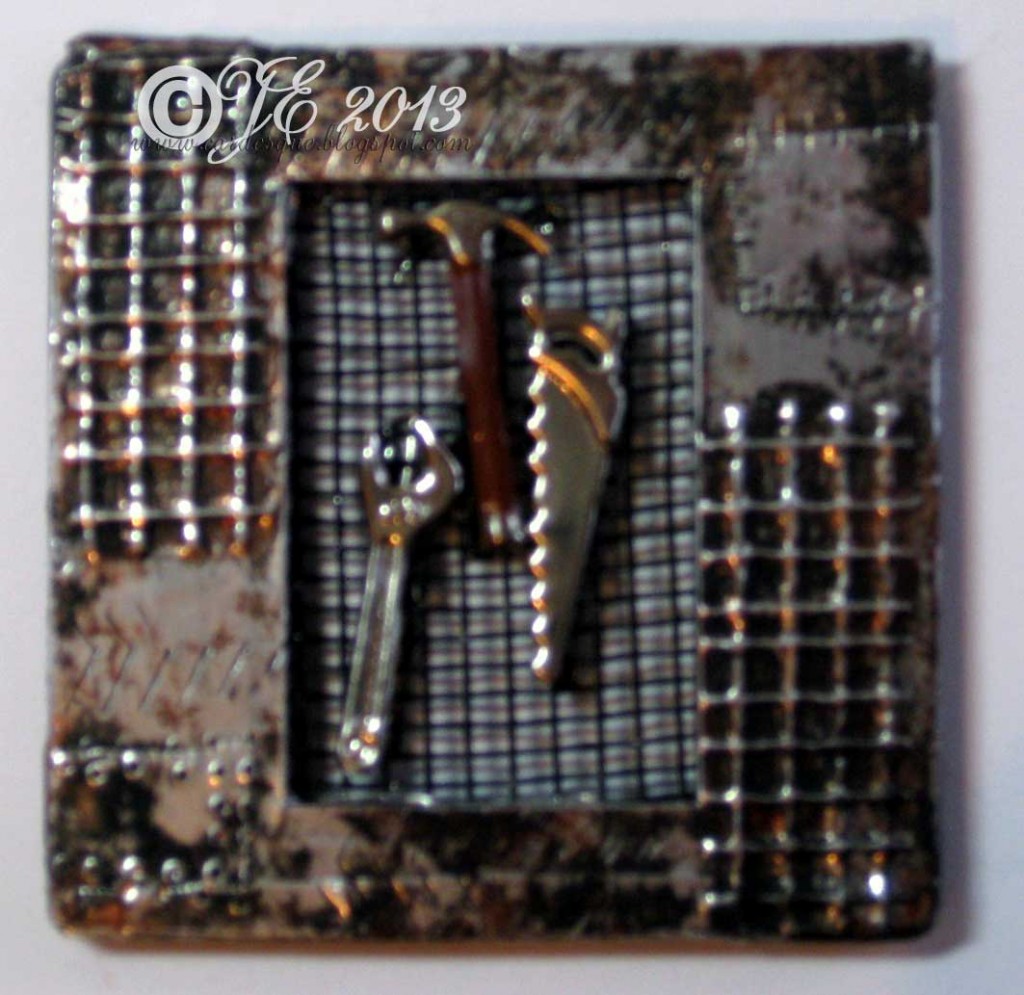
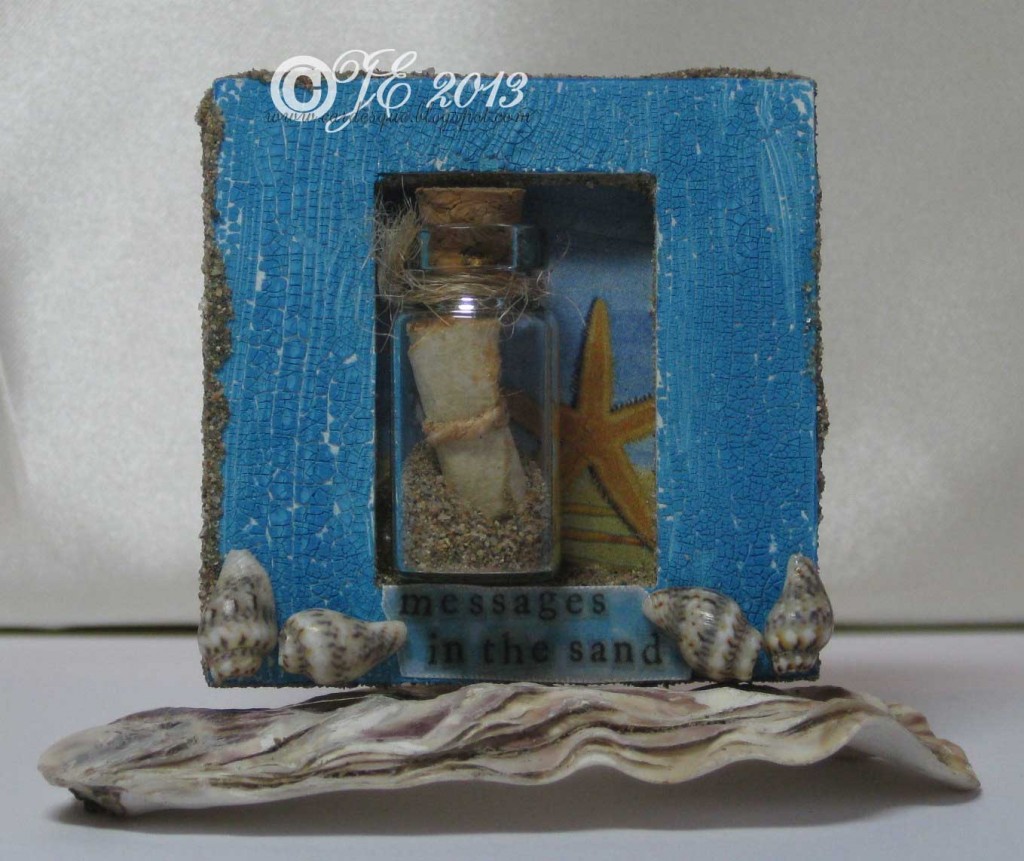
The one above has a piece of old sieve in the aperture along with tool brads and the mount is covered with aluminium foil tape with magic mesh underneath, coloured with rust alcohol ink and black acrylic paint. The one below is 3D as I used a double layer of 3mm sticky backed foam tape. I put a letter and some sand in a mini bottle, coloured the front with crackle paint and embellished with sand on all sides and a few shells.
Shabby chic magazine/file holder
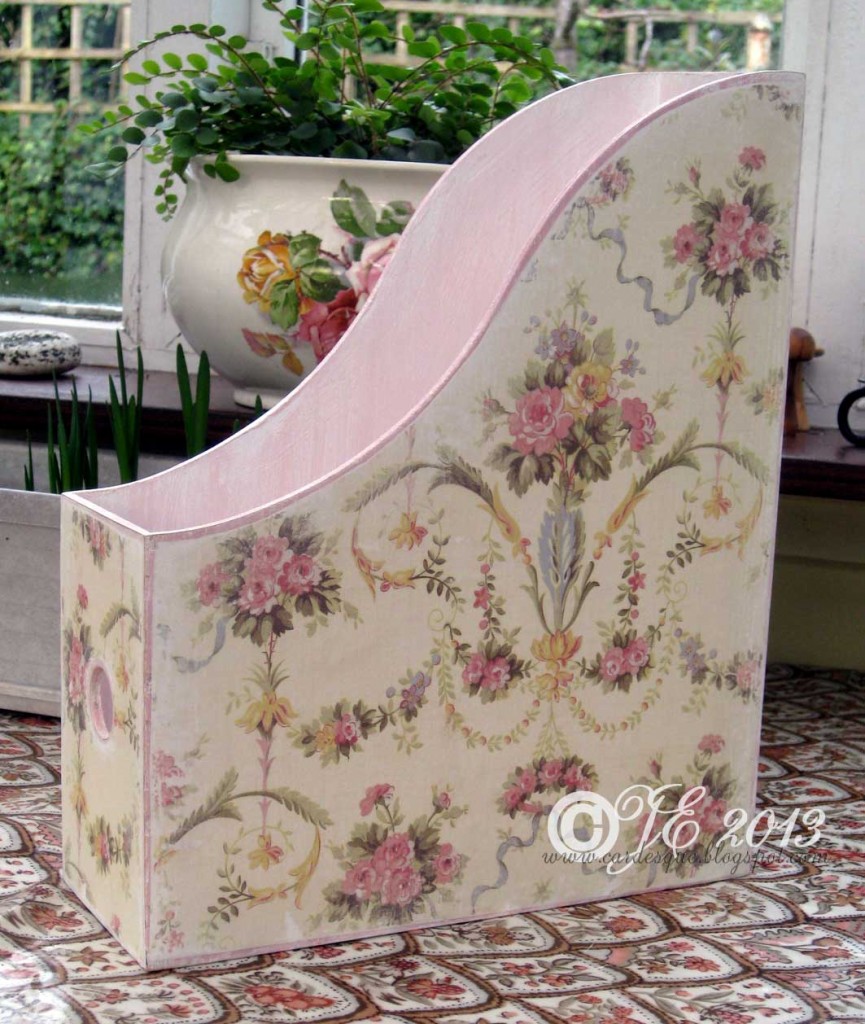
This is the time of year where I really try to get rid of or use some of my stash that I have accumulated over the years. I love Anna Griffin papers and I had wanted to use them in some scrapbook pages but they didn’t really match any of my photographs so I thought I would just sell them or swap them at my next scrapbook crop. But I then thought I would decorate my numerous plain magazine or file holders and that way I would still get to look at the pretty papers. The holder is made of thin wood so I painted them first with white gesso then applied some pink rose and ivory emulsion very haphazardly inside and out. I cut the patterned papers to fit leaving a tiny borfer around each section then using PVA stuck them each side. When everything was completely dry I then sanded the edges and parts of the images to distress them and get a softer shabby chic look. I might need to give them a coat of sealer but I am really glad I didn’t get rid of my Anna Griffin papers after all. Only another 17 more to cover!
