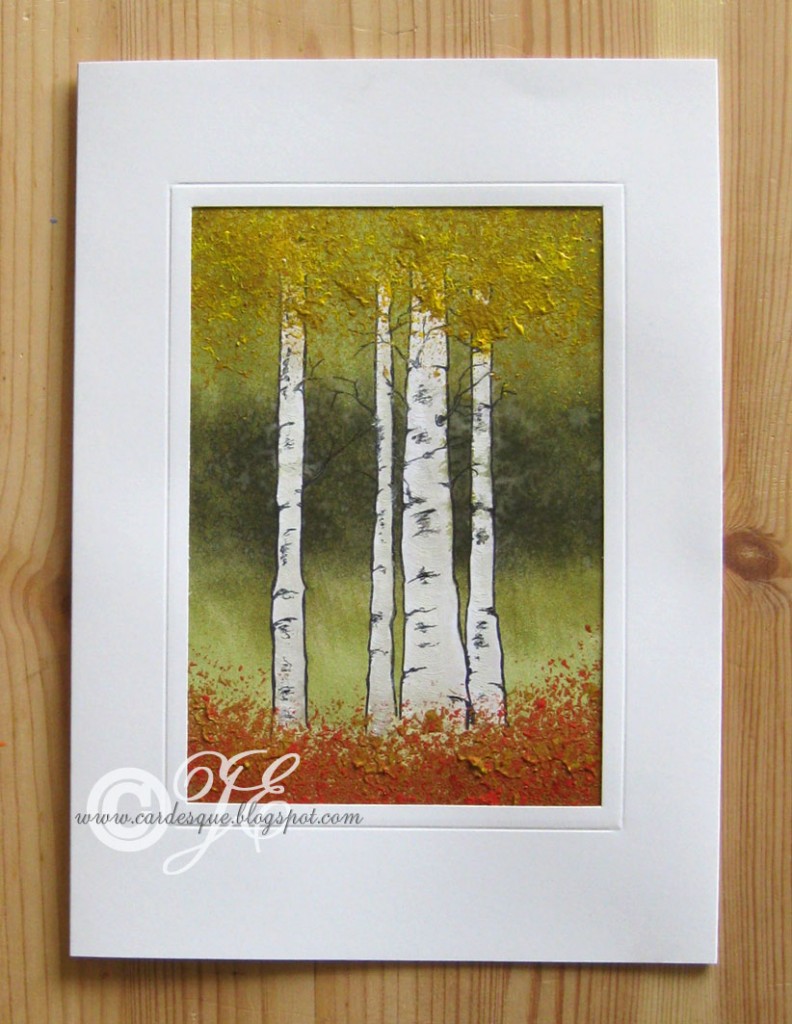
I came across this tutorial by Amy Pearce by accident and decided I really wanted to give it a go but in a smaller version for a card. Instead of painting in the trees I thought it might work if I stamped the trees then masked them out before painting in the background. My first attempt was very bad: I had used a stamp for the trees then masked it out with masking fluid on plain white card and not only did I have to spend 3/4 of an hour de-bunging my masking fluid as it had solidified all the way inside the nozzle before I could even start, but after I had finished the painting and it was time to remove the masking fluid it had stuck to my card too much so it ripped half the surface away too. Argh!!!
For my next attempt I thought I would do an inky background and add the acrylic paint over the top for more texture. That kind-of worked. I stamped the trees, this time cut out a paper mask and used sponges with Distress ink through the mask to make the background. Took the mask off and I then stippled on the acrylic paint but the trees looked too plain and white so I used a water brush with some Pumice Distress ink to go over the trees the used a dry flat brush with Diamond glaze to give a little bit of shine and texture. Finally I sprayed the picture with a fine water mist just to soften the background a little. Now I know that she called her trees Aspen but I will call mine Birch as the stamp I used is called Birch trees. I managed to get a rather stripy effect but I would really like to give it a go for real next time and paint in the trees for a proper painting.
Inks: Black document ink, Distress inks Black soot, Bundled sage, Forest moss and Pumice stone
Card: white card
Stamp: Birch trees Clarity stamp
Other: Acrylic paints Cadmium yellow medium, Yellow ochre, and Vermilion, Diamond glaze, old pond pump sponge, black multi liner pen to touch up a few black lines


