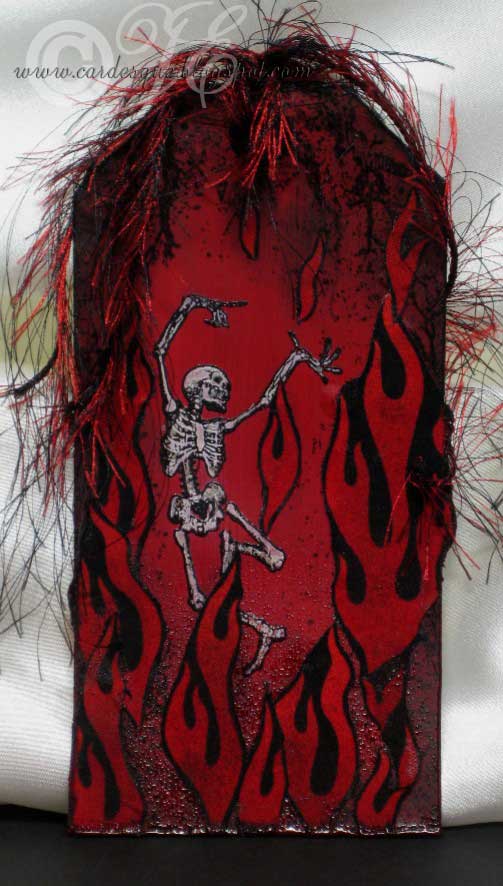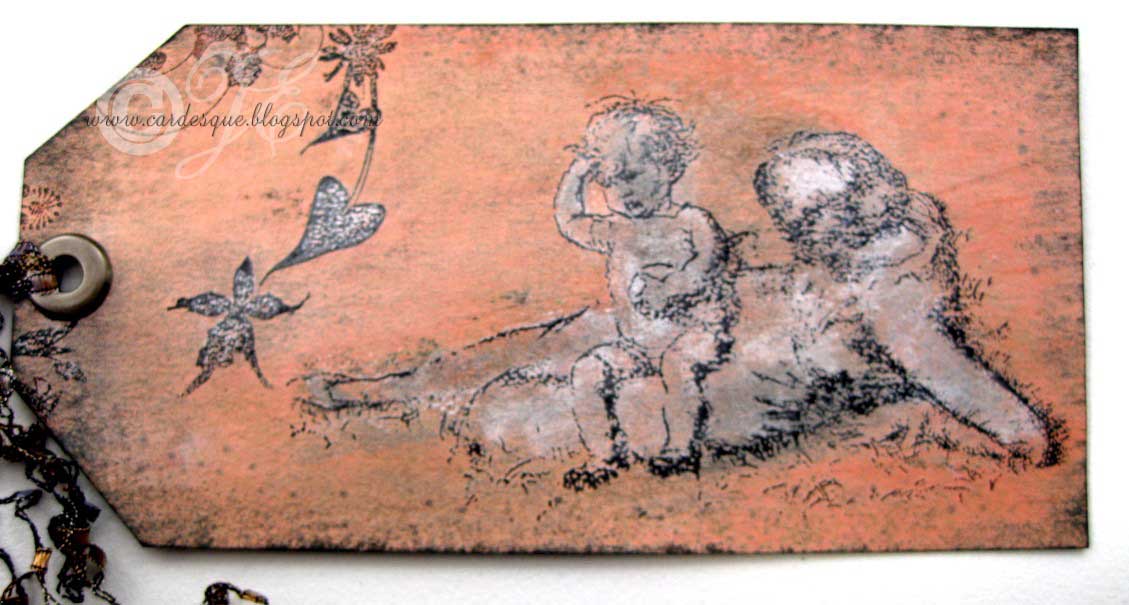
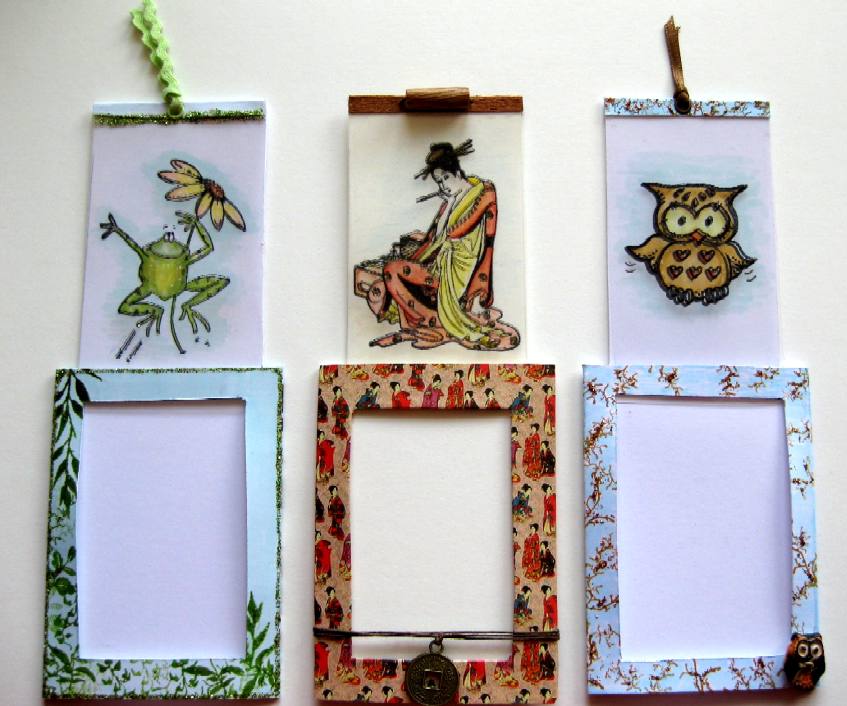
Inks: Black Stazon for the acetate, black document ink on the card, various colours
Card: white card, ivory card, acetate, decorative paper
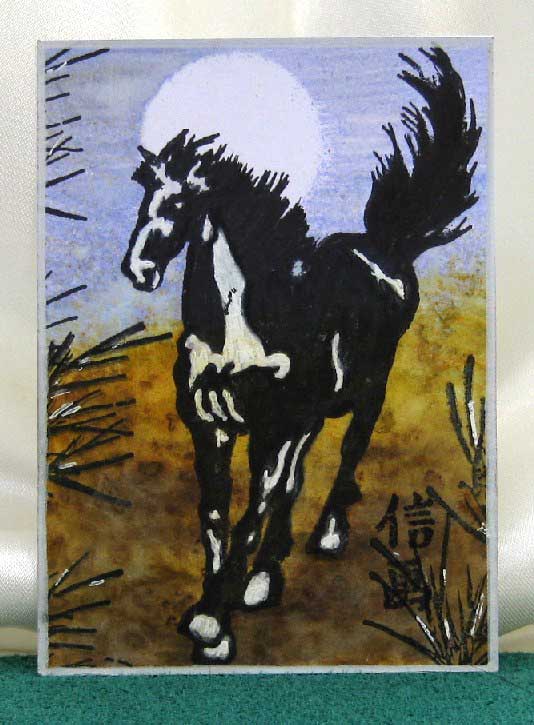
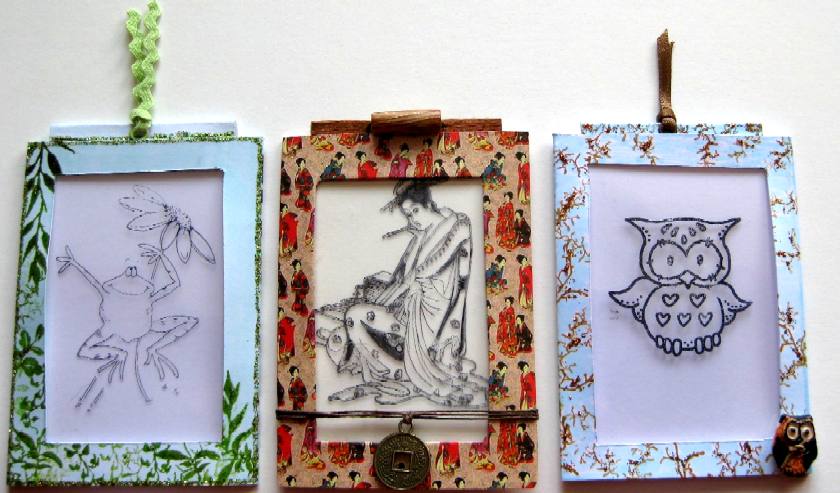
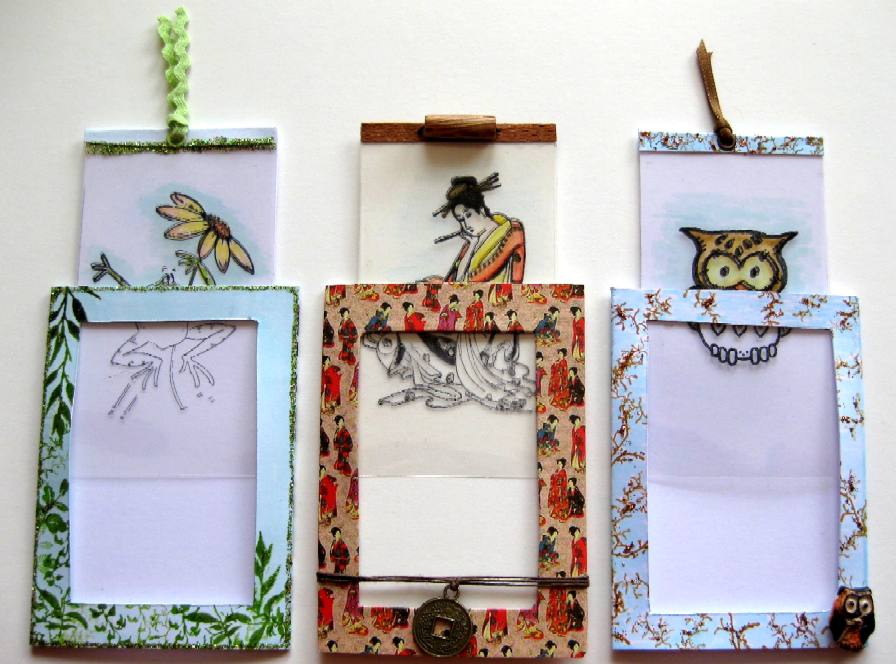
Stamps: Penny Black toadily, Lavinia Stamps foliage, Rubber Stamp Tapestry (various), Sugar Nellie owl, Non Sequitur oriental love letters
Other: watercolour pencils, copic pens, ric-rac, ribbon, twine, coin, button, bead, stickles, eyelets
I found this link for a Magic pull up card years ago but I thought about altering it to make ATC sized versions for this months ukstampers swap theme ‘acetate’. I was using my ruler with inches on it so all the measurements are in inches.
Here is a tutorial to show how I made my ATC versions:
ATCs are 3 1/2 inches x 2 1/2 inches.
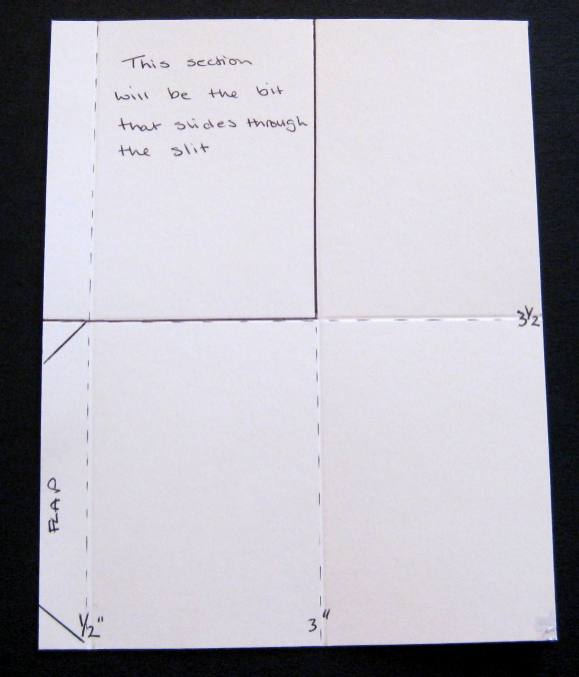
1
Measure some card stock 5 1/2″ x 7″ see Fig1
Score the 7″ side at 3″ (Fold 1)
Score the 5 1/2″ side (from the left hand side) at 1/2″ then 3″ (Fold 2 and Fold 3)
Fig 1
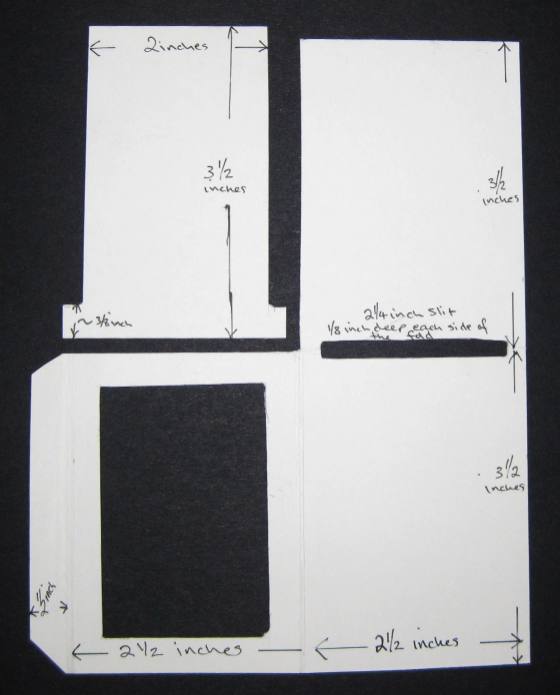
2
Cut away the top left hand rectangle and save it for later – this will be the sliding piece.
Cut the corners off the flap at the left side
Cut a slot measuring 2″ x 1/4″ over Fold 1 as shown in Fig 2, leaving 1/4″ at both sides of the slot.
Fig 2
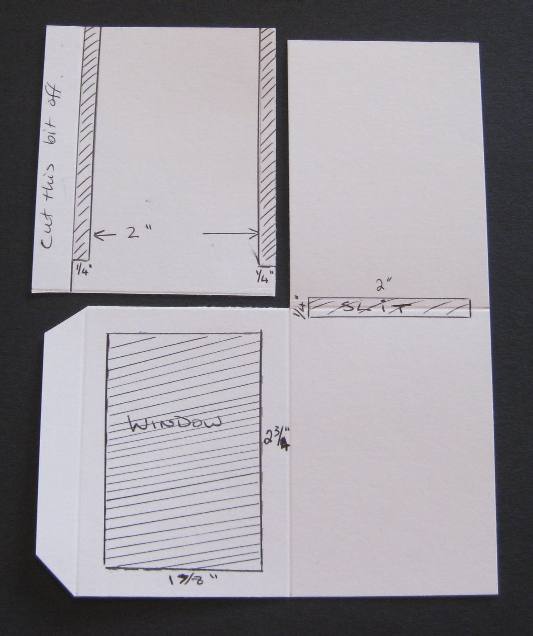
Mark and cut out a window from the left hand rectangle measuring 1 7/8″ x 2 3/4″.
Now get the rectangle that you saved earlier and cut the flap off first. Now mark and cut away a strip down both sides down to about 3/8″ from the bottom.
You should now have pieces that look like Fig3.
Make sure that the T shaped piece can slide easily through the slot and if not just take slivers off until it does.
Fig 3
3
Fold the top rectangle down over the bottom one.
Fold the left hand window side over the to the right and tuck the flap in at the right hand side.
Try to make the folds ‘generous’ because the inside will contain 3 layers, this will help stop the sliding part becoming stuck.
Now that you know which side will be the front and back unfold it all again. You can now colour and decorate the outside. Take care to leave the inside panel plain as this is the side you will see through the window and acetate.
4
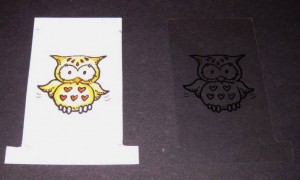
Stamp an image on the T shaped sliding piece (you can use the window to guide you so you stamp within that area). This image will be the coloured one so if you are using water colours choose a waterproof ink to stamp with.
Take a piece of acetate larger than the T shaped piece, place it over your T shaped piece and using Stazon ink or Brilliance ink stamp the same image onto the acetate directly over the previous image. Make sure your ink dries before the next stage. Holding the card and acetate move them around so the images are EXACTLY over each other and cut the acetate to the same size as the T piece using a craft knife or scissors. If you have a stamp positioner you could cut the acetate out first and use the positioner to get accurate results. This image will remain uncoloured.
Colour in the CARD image. see Fig 4
Fig 4
5
Fold the top right hand rectangle down over the bottom one. Slide your coloured card T piece all the way up through the slot until it stops.
Draw a very thin line of glue along the top edge only and place the acetate piece EXACTLY over it and stick it down. To disguise the glue you can add a small piece of card or ribbon over the top.
Fig 5
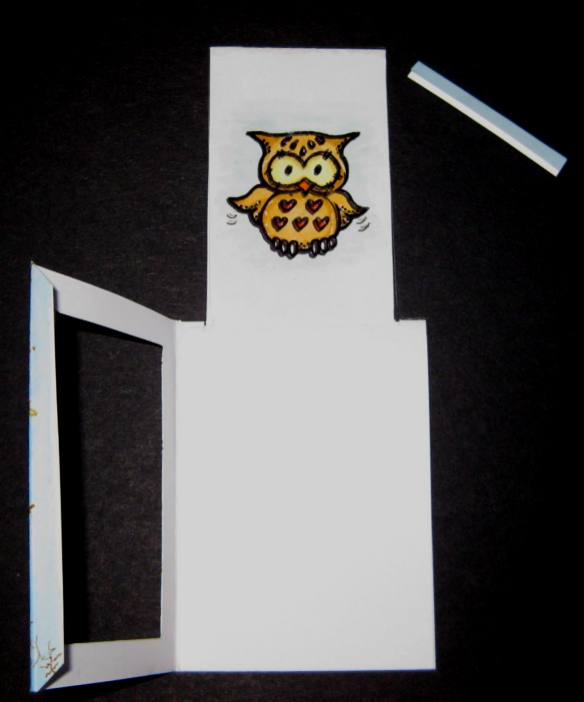
Now push the slider all the way down and fold the front over. Put glue on the flap so that when you tuck it in at the back it will stick to the back and not to the slider. (you can just fold it over and stick it down without tucking it in if you prefer).
You can add eyelets and ribbon and decorate as you wish.
Tips:
When you fold it all over the first time it may not fold well so just take a sliver from the left hand side of the top rectangle and make the folds a little more generous.
The window can be any shape or size.
Try colouring your acetate image one colour and the card image another colour for a different. look.
If you stamp on the inside panel by mistake (as I have done before) you can still use it by folding to the left instead of to the right.
If you make a cardboard template then just use this to make others by drawing around it (saves having to measure things out) but remember to cut inside the pencil line when cutting it out but cut outside the pencil line when cutting out the window and the slit.
When adding embellishments to the front, remember not to stick them to the acetate.